
How to Create Beautiful Facebook Ads with Canva

Images are amazing - they can inspire people, evoke emotions and actions, impact people's willingness, and attract their attention. In this article, we're going to go over some tips to help you make beautiful Facebook Ads using a simple tool known as Canva. The best part? You don't even have to be a graphics designer to do it!
Facebook Ad Images
Before you start making awesome art on Canva, make sure you're aware of Facebook's rules for using images in ads. Here are some things you can't include in your ads:
- You cannot feature "before and after" pictures or images showing unlikely or unexpected results.
- Your ad image can include text, but the text is only allowed to take up less than 20% of the image.
- You cannot use images that portray a functionality that your product does not possess.
Check out this link to learn more about the different images sizes you can use, depending on the various ads you can create and their placement.
Why Use Canva?
So, first things first, why should you use Canva over something else? Canva is an awesome tool - it allows you to easily make infographics, web visuals, blog post images, ad graphics, and so much more. It's also one of the most straightforward design tools out there that you can use - which is especially great if you have no knowledge of designing!
In Canva, it's as easy as choosing a visual type and picking the elements from an incredible library of colors, shapes, graphics, and images. Then voila, you're done!
There is obviously more to each step in the process, but don't worry, we'll be going over each one in detail.
How to Use Canva
In this section, we'll be going over some Canva basics.
How it Works
Canva uses a simple drag and drop process. Select the elements you want to include in your graphic, either from their library or your own, and drag them into the position you want them in on your graphic.
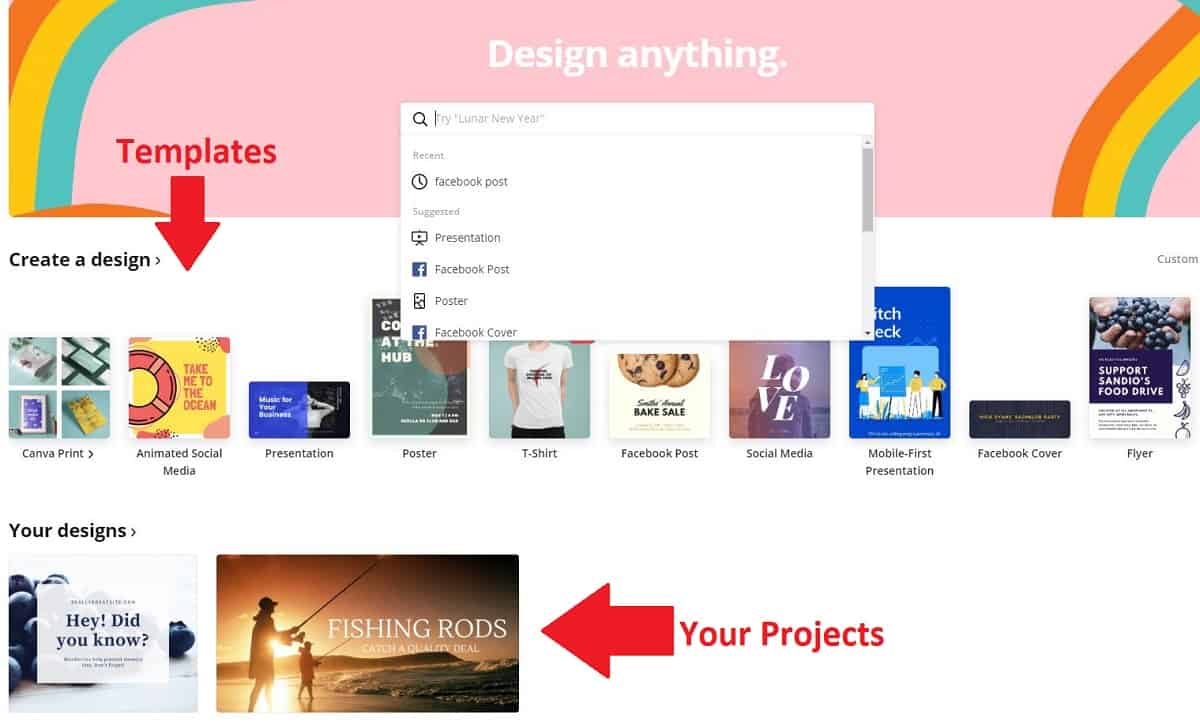
Canva has two main elements. The first one is the dashboard, which is the first screen you'll see after logging in. Here you have access to all of your designs as well as default templates you can work with.
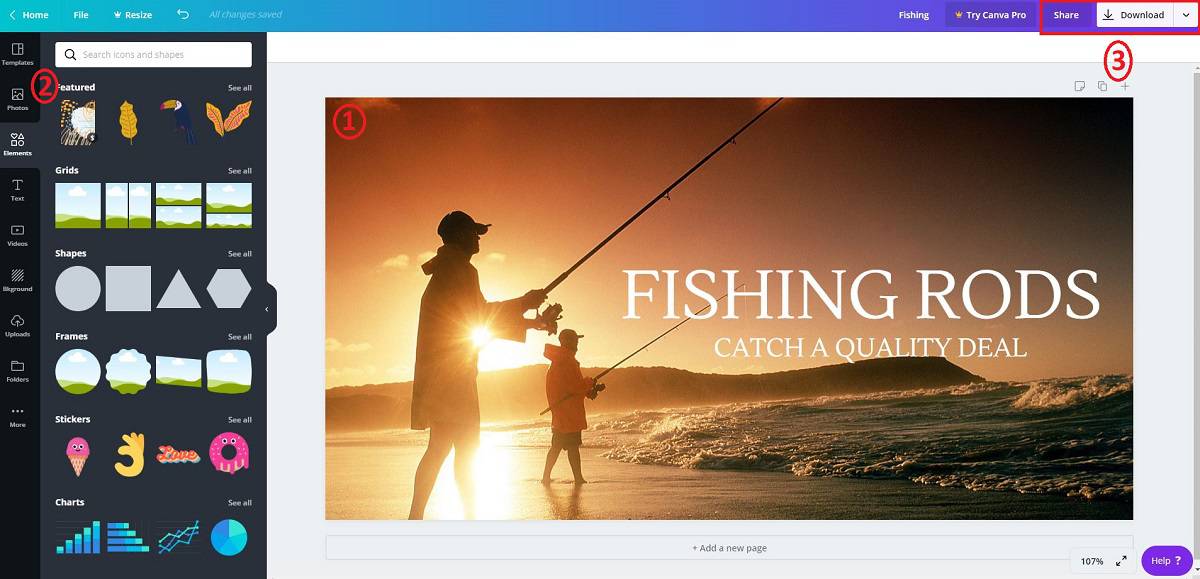
The second element is the main work area, where you actually design your graphics. The work area contains:
- The Main Canvas. This is where you'll place various elements to design the image for your ad.
- The Library. Canva's library is full of graphics, templates, shapes, colors, and more, which you can use in your ad.
- Controls. These tools allow you to export and share your image.
Creating a Facebook Ad with Canva
Now that you know the basics of Canva let's go over actually creating an ad.
1: Sign Up
If you haven't done so already, you'll need to create an account with Canva in order to use it. Don't worry, it won't cost you any money to sign up. In fact, in most scenarios, creating visuals is free as well.
You only have to pay if you use paid graphics. If you decide to do this, you will be charged when you export your design. So, you can play around with some of the paid elements and then only pay for the ones you want.
To sign up for Canva:
- Go to Canva.com
- Register for an account using either your email, Google account, or Facebook.
Once you've successfully signed up, you'll be taken to the dashboard.
2: Choose Your Image Size
You'll have two options when it comes to making your graphic. You can either use a pre-defined template, or you can choose a custom size. Both of these options are located under the "Create a design" section on the dashboard.

Pre-Defined Template
There are a plethora of pre-defined templates out there for you to use. You can create graphics for everything from blog posts and ads, to presentations and infographics (and so much in between).
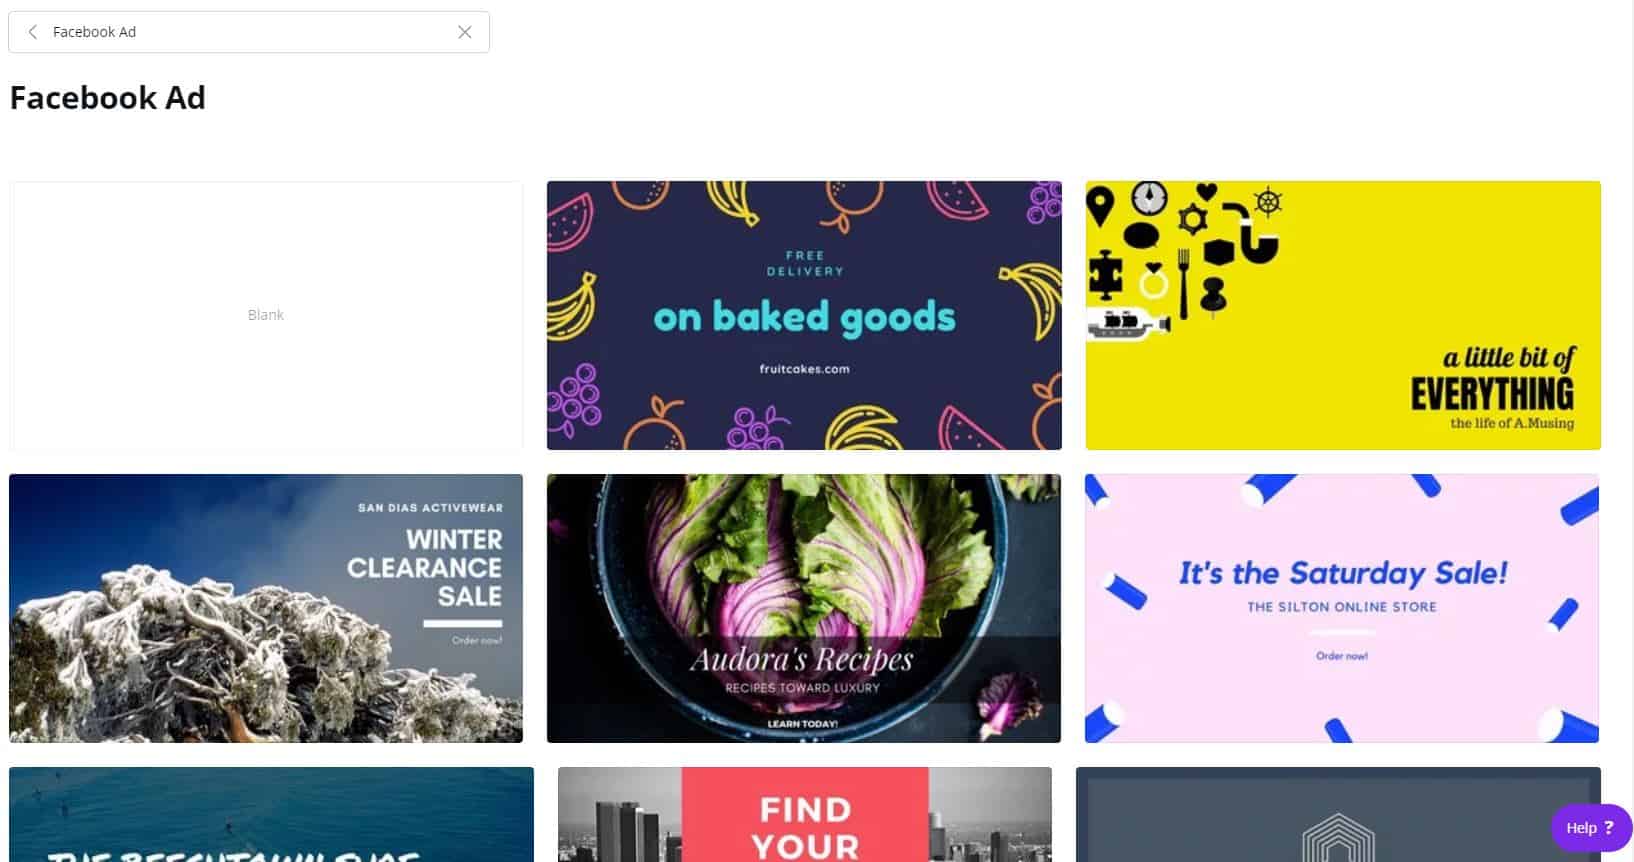
If you want to use a pre-defined template for a Facebook Ad, you can search for them in the search bar by typing in "Facebook Ad" and hitting enter. You will then be taken to a catalog with available templates.

Choose the one you like, and Canva will create a 1200 x 627 px size image and open a library of other available ad styles as well. You can start with a blank canvas by clicking on the image once in the work area and deleting it.
Custom Size Image
If you want to create a custom size image, head back to the dashboard and click on "Custom dimensions" located in the right corner of the templates library.
Once you click on that, Canva will bring up two boxes to specify the width and height of your image. After you put in the measurements, click on the "Create new design" button, and Canva will set a new image canvas to your specifications.

Please note that if you do use a custom design, you won't have access to ad templates like you do when choosing a pre-defined template.
3: Add Elements
Canva offers so many elements that you can add to your design. From shapes and frames to background patterns and colors, there is so much you can do. You can also add texts and illustrations. All of these elements are located in the sidebar located on the left-hand side.
Layouts
Layouts are pre-defined templates you can base your design on. To use a layout, simply click on it and it will be added to your design.
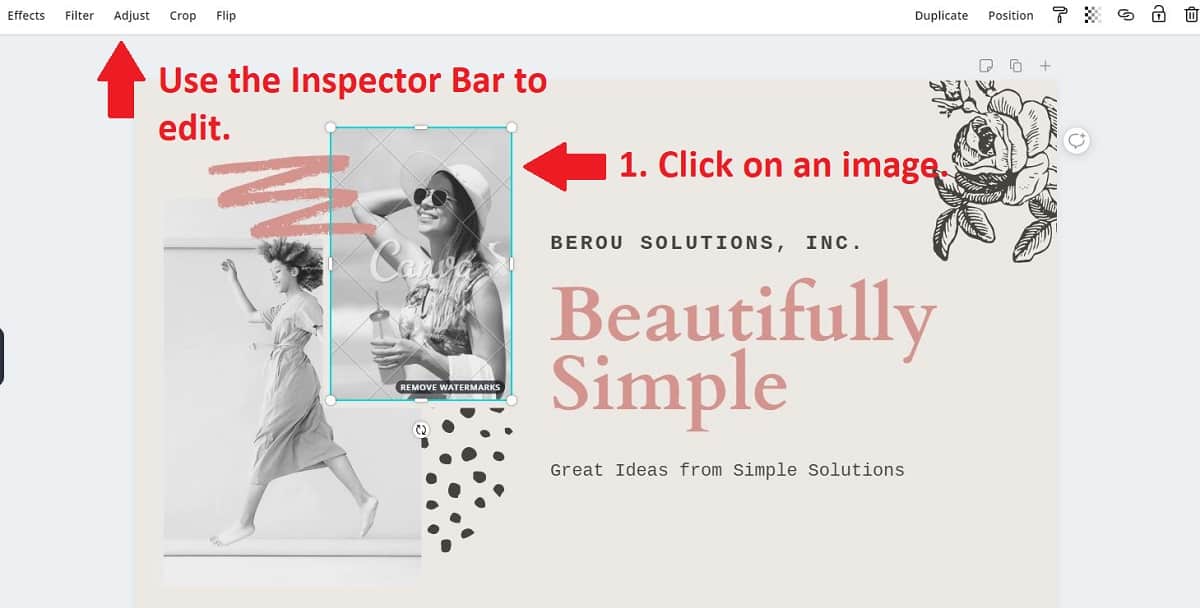
The graphics in the columns are for illustration purposes only. In order to edit or remove them, just click on that section of the design and use the Inspector bar that appears on the screen.
Text
Just like with Layouts, all you have to do to add a text template to your design is click on it, and Canva will add it to your design.
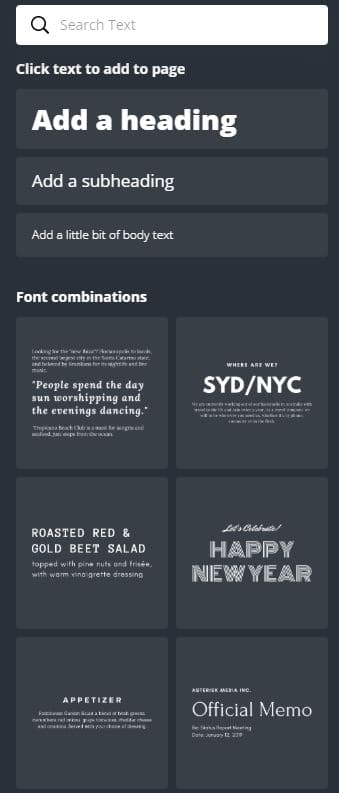
Click on your added text, and the Inspector bar will show up. This tool allows you to change the font type, size, color, spacing, and much more.

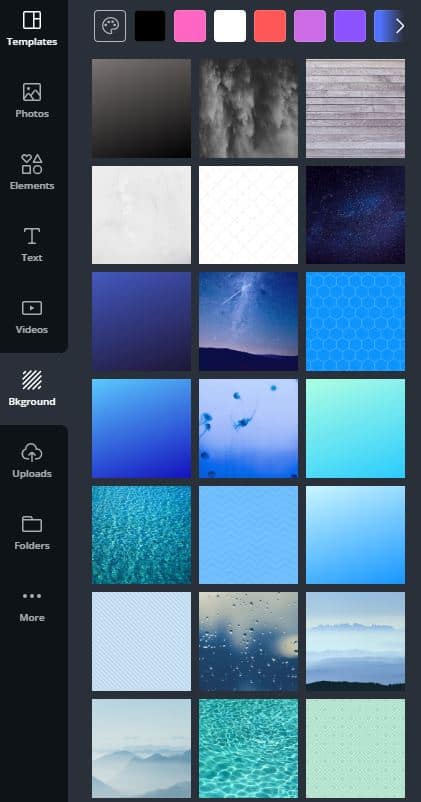
Backgrounds
Head to this section if you want to add a background to your design. The background section contains various patterns, colors, and images you can use in your design.
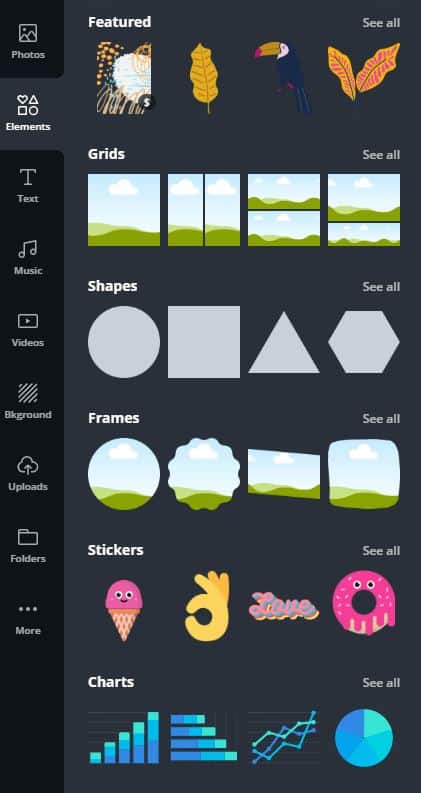
Grids, Shapes, and Frames
If you click on the "Elements" tab in the sidebar on the left-hand side, you'll find libraries of grids, shapes, frames, icons, images, and a plethora of other things you can add to your design. Please note that not all of the images you can find here are free.
Uploading Your Own Photos
While having access to a library of pictures is great, you'll probably want to use your own images in your ads. Just go to the "Uploads" tab in the sidebar on the left-hand side and choose which images you want to upload for your ad.
4: Export Your Ad
When you've finished creating your ad, you'll want to export it. Just click the download button in the upper right corner - it's as easy as that!
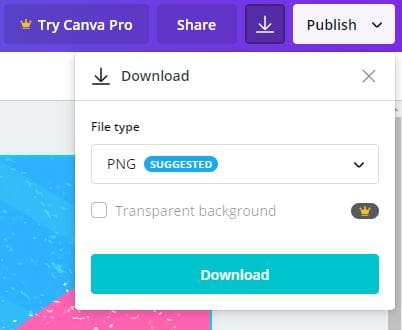
If you're using a premium theme or image, this is what you'll see when clicking the download button.
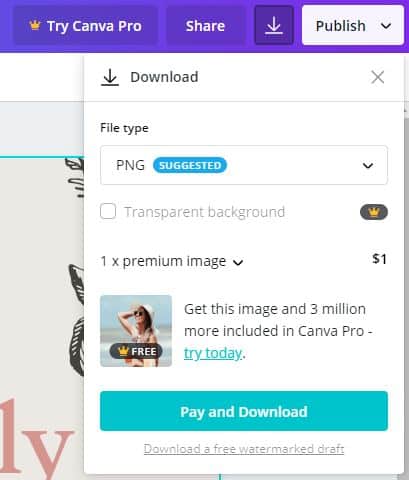
Look at that, you've just created your first Facebook ad using Canva! We hope you've found this guide helpful and can't wait to see the amazing ad graphics you create for your business.
Let's bring the spotlight to your business today.
From brainstorming to implementation, AnoLogix has successfully designed, created, developed and implemented websites for people and businesses since 2000.
With AnoLogix your business can skyrocket. Do you want to learn how we can help?
or call us for a FREE consultation at (904) 807-8961